Getting Started Guide for JumpServer PoC
Adding Devices
1. Preparation
Prepare two devices (for SSH and RDP) and one database to test the product features.
For example:
| IP/Host Name | Port | Type | Account |
| afidc.afi.local | 3389 | Windows | testadmin |
| 10.10.53.210 | 22 | Linux | sergg |
| 10.10.53.3 | 3306 | MySQL | user |
If you need to gather information about the Windows device, change local account passwords, create new accounts, or perform other tasks, you must configure SSH for Windows.
For RDP connections, this is not required.
2. Editing the Asset Tree
Go to the Console - Assets - Assets section and open the Asset Tree tab. Right-click in this section to open the asset tree editing menu.
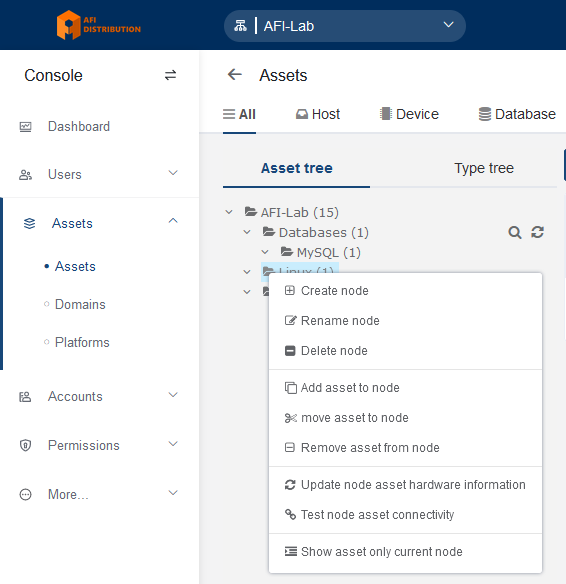
You can create folders (Nodes) and subfolders for your devices (use the Create node option). Devices can be sorted into these folders.
- A device can belong to multiple folders simultaneously.
- These folders can be used to manage access policies, for example, granting access to all devices in a specific folder.
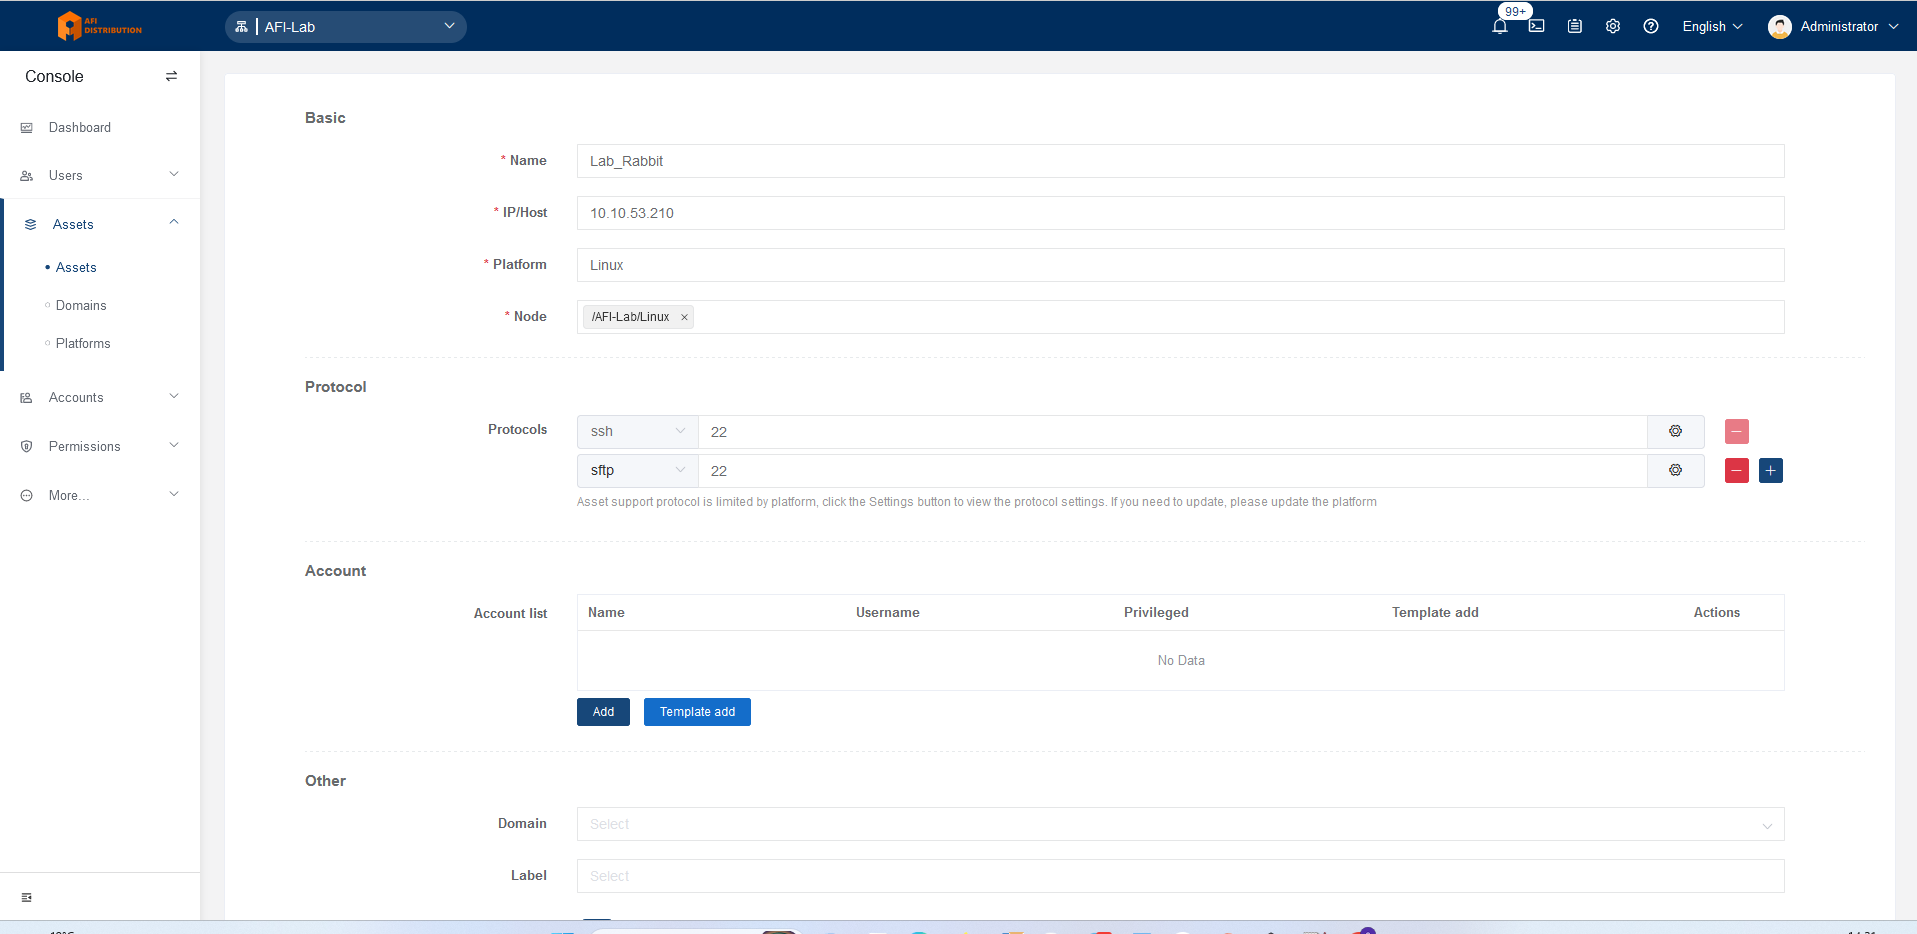
3. Adding Assets to the System
Add a Linux-based device. Windows, MySQL, and other devices are added similarly.
Click the Create button, select the device type Linux (under Host), and fill in the fields:
- Name: Any meaningful name
- IP/Host: The IP address or DNS name of the device
- Platform: Linux
- Node: Folder(s) where the device will be placed
Adjust port numbers if non-standard ports are used.
4. Configuring Device Access Permissions
Go to Console - Policies - Authorization and click the Create button. Fill in the required access parameters:
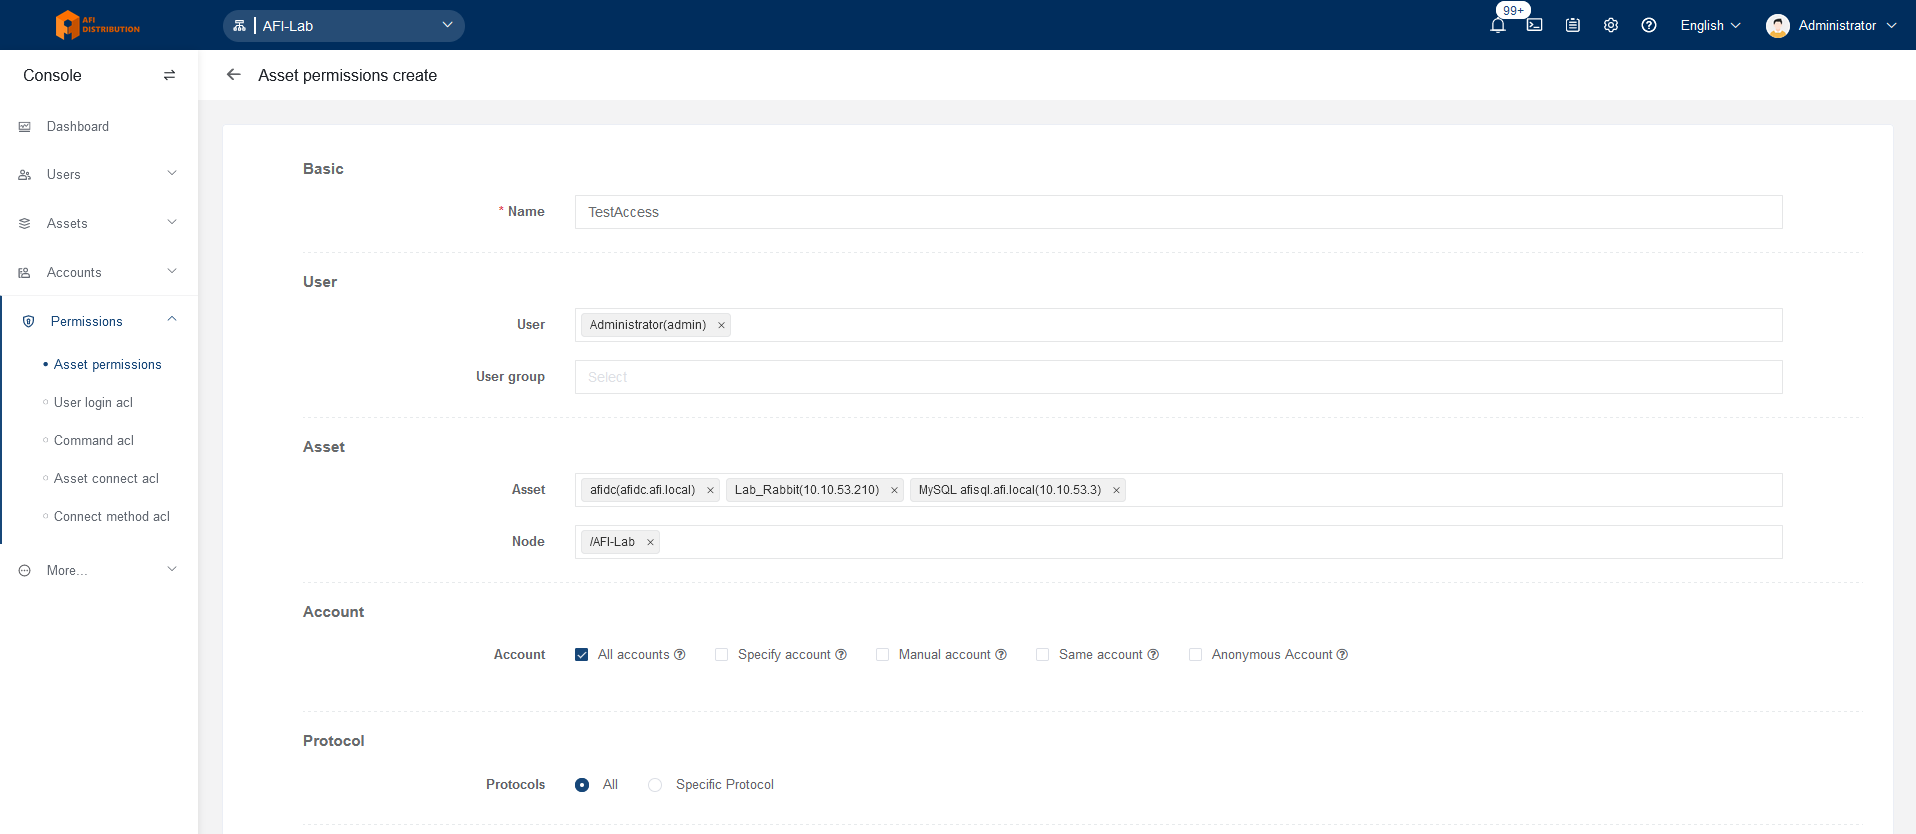
Name: A meaningful name for the access group
Users: The PAM user(s) who will gain access to the devices
Groups: User group(s) that will gain access
Assets: The device(s) to which access is granted
Nodes: Folder(s) containing the devices to which access is granted
Account:
- All accounts: Allow connections with any existing account for each device
- Specified accounts: Specify particular accounts for connection
- Virtual accounts: enable additional auth options
- Manual account: Allow manual login credentials without adding the account to the system
- Same account: Use the same account as the user's PAM login (LDAP authorization only)
- Anonymous account: Connect without credentials, typically for web interfaces where users input their login credentials manually
Protocol: Limit the protocol used for connections
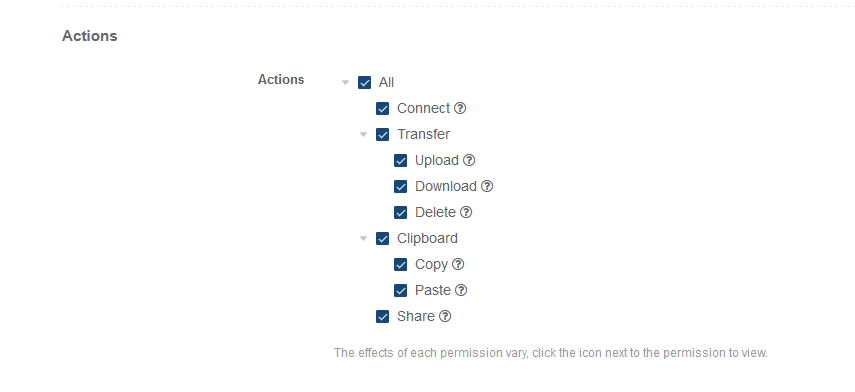
Actions: Enable or disable file transfers, clipboard sharing, or session sharing permissions if supported by the connection type.
You can enable or disable the policy and set its start and end time:
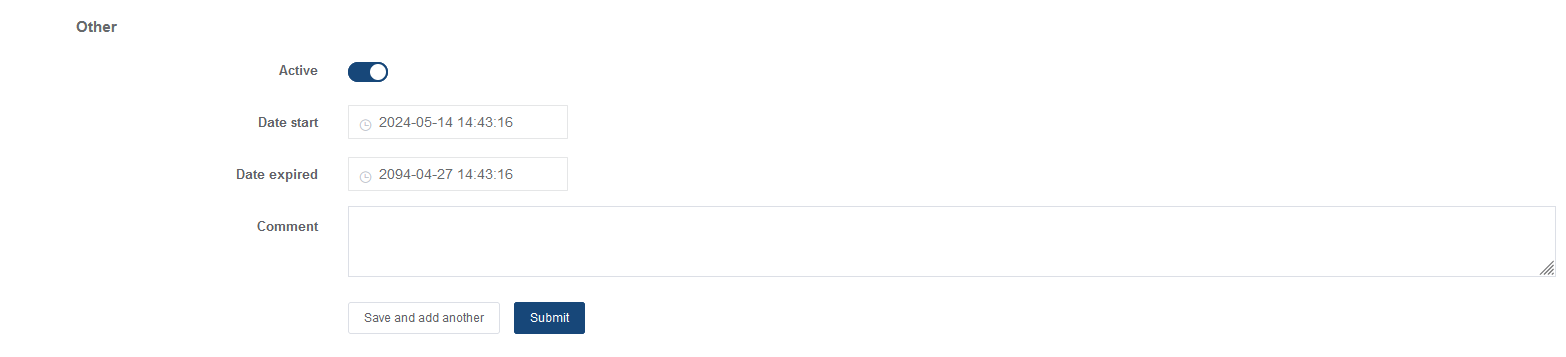
Click Submit to save the settings.
5. Connecting to Devices
Go to the Web Terminal by clicking the button in the top-right corner:

In the terminal, users see only the devices they are permitted to access. Click on the desired device in the list to select the account and connection type:
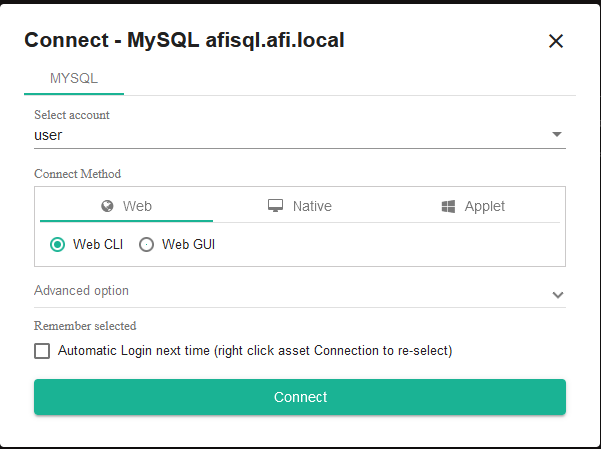
Without additional configuration, you can connect via the web interface using SSH, RDP, and SFTP, as well as to MySQL via Web CLI or Web GUI. Other connection types, such as Kubernetes, web interfaces, RemoteApp applications, and databases using dedicated clients, will be covered in other articles.